How to Use Felt Roll with Adhesive Burlap for Crafting Projects
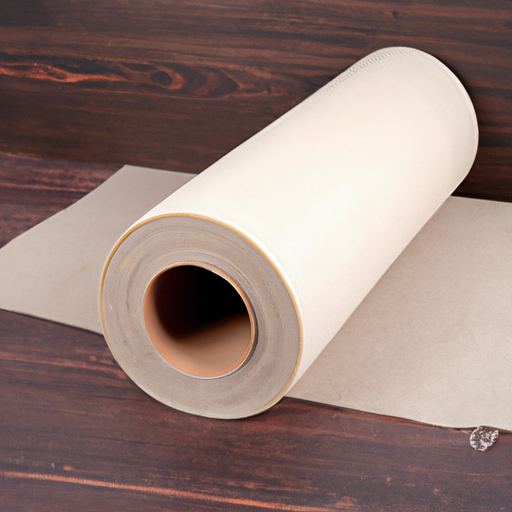
Crafting projects can be a great way to express your creativity and make something unique and special. One of the materials that can be used for crafting projects is felt roll with adhesive burlap. This material is easy to use and can be used to create a variety of projects. Here is a guide on how to use felt roll with adhesive burlap for crafting projects.
First, you will need to measure the area where you want to use the felt roll with adhesive burlap. Measure the length and width of the area and then cut the felt roll to the desired size. Make sure to leave a few extra inches on each side to allow for trimming.
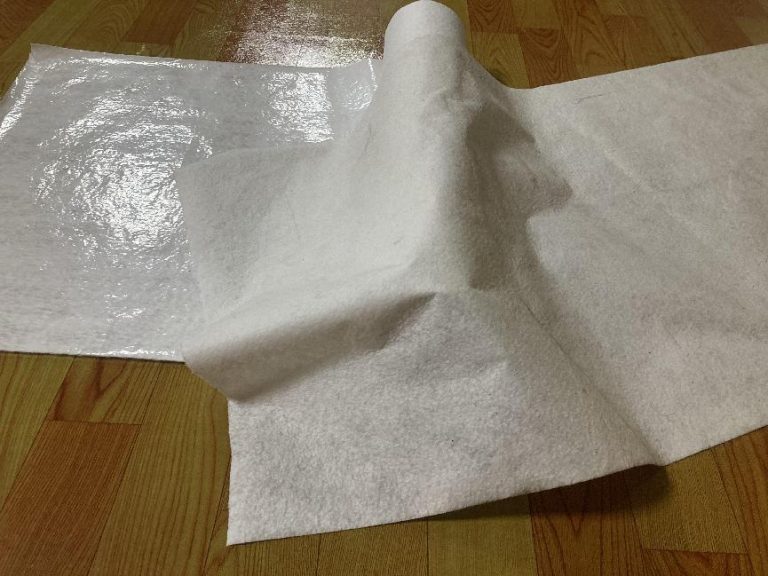
Next, you will need to peel off the backing of the adhesive burlap and place it on the felt roll. Make sure to press firmly to ensure that the adhesive burlap is securely attached to the felt roll.
Once the adhesive burlap is attached to the felt roll, you can begin to create your project. You can use the felt roll with adhesive burlap to create a variety of items such as banners, wall hangings, and more. You can also use the felt roll with adhesive burlap to create shapes and designs.
When you are finished with your project, you can trim the edges of the felt roll with scissors or a craft knife. This will help to give your project a neat and finished look.
Using felt roll with adhesive burlap for crafting projects is a great way to express your creativity and make something unique and special. With a few simple steps, you can create a variety of projects with this material.